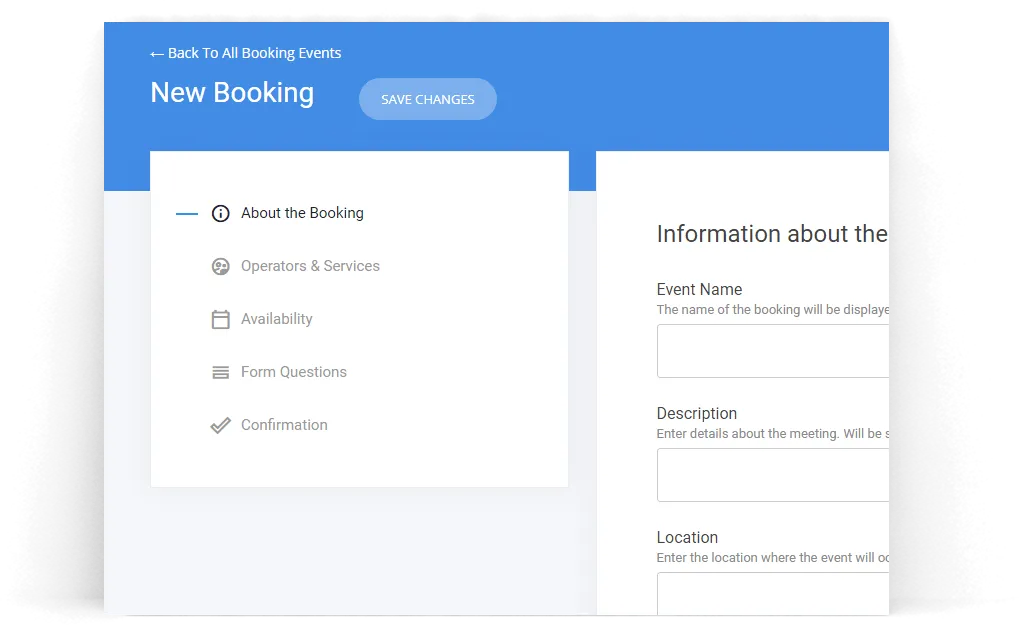
We recently introduced powerful new Booking & Appointments capabilities enabling all website owners to set up events and manage their schedule directly from their website.
One of the cool perks of the new feature is that it integrates nicely with Google Calendar - each team member can connect their Google Calendar and booked sessions will appear directly in their calendar! Even better - operator availability will respect busy times from the connected calendars and won't offer unavailable hours even if they're not booked through the website.
As with all features, booking is also available for our White Label partners. If you are one of them, follow this guide to learn how to better present your brand when your customers connect their Google Calendars.
The integration with Google Calendar is made through the Google Calendar API. As with most of the Google APIs, customers need to explicitly allow access to their calendars by authenticating with their Google profile via Single-Sign-On. And this is important - you must show your brand on the authentication screen. By default, we'll show a general, non-branded name:
You will probably want to show your own brand on this page. To do this, you need to register in the Google Developers Console, create a project for your app, enable the Google Calendar API and verify your brand and app with Google. We've prepared a quick step-by-step guide on how to do this:
Create a new project and name it accordingly. When prompted, select External type. As your app will be used by any customer with a Google account, not only within your organization, make it external.
3. Enable the Calendar API
Next, go to the dashboard and click on ENABLE APIS AND SERVICES.
On the following screen search for "Google Calendar API" and enable it
4. Create credentials for your app
Next, click on MANAGE on the Calendar API, go to Credentials, click CREATE CREDENTIALS and select OAuth Client ID
On the next screen select Web Application for Application type and enter your brand name.
Leave the Authorized JavaScript origins field empty and for Authorized redirect URIs enter https://<your-domain>/_service/google/calendar
Replace <your-domain> with the domain of your White Label. Make sure the path is correct then click on Create.
5. Set up the OAuth consent screen
In your project, click on the OAuth consent screen and then on EDIT APP.
Fill your Application Name, upload your logo, and enter a support email.
At "Scopes for Google APIs" click on Add scope and select the 2 scopes for "Google Calendar API" - ../auth/calendar.events and ../auth/calendar.readonly
Under Authorized domains add your White Label domain.
Fill the homepage, privacy policy, and terms of service links and click Save.
5. Copy your OAuth credentials to your management panel.
You will be presented with your OAuth credentials. Copy your Client ID and your Client Secret (you can always see them later if you click on the credentials).
Open the management panel of your builder and go to Settings -> General
Scroll down and check the "Booking - Use custom Google app" checkbox.
Enter the Client ID and Secret and hit Save.
Your White Label will now use your own, branded Google app for connecting to customer calendars. The app will need to be approved by Google or your customers will see a big warning not to trust your app.
To verify your app, go back to the OAuth consent screen, click on Edit App, then on Submit for verification. Follow the on-screen instructions and provide the required details. Note that the app can take up to 6 weeks to get approved by Google! Until then, we will show a user-friendly warning to your customers before connecting their calendar as the default warning for unverified apps can look a bit scary to end customers.
When verifying your app, make sure to follow the on-screen instructions as closely as possible. Fully describe what is each scope used for, for example:
https://www.googleapis.com/auth/userinfo.email - to show the email of the connected account in the operator settings (operator = customer connecting their calendar).
https://www.googleapis.com/auth/calendar.readonly - to list the available and booked events so they can be removed from the availability of the customer (i.e. for the calendar/v3/freeBusy call).
https://www.googleapis.com/auth/calendar.events - to manage (add, update, or delete) events scheduled through us. Only events created by us can be deleted.
Adding a link to a YouTube video quickly describing the whole process of adding an event to your calendar from the booking widget will also help.
That's it! You are now using your brand on the calendar authentication page, instead of the general brand we set by default.